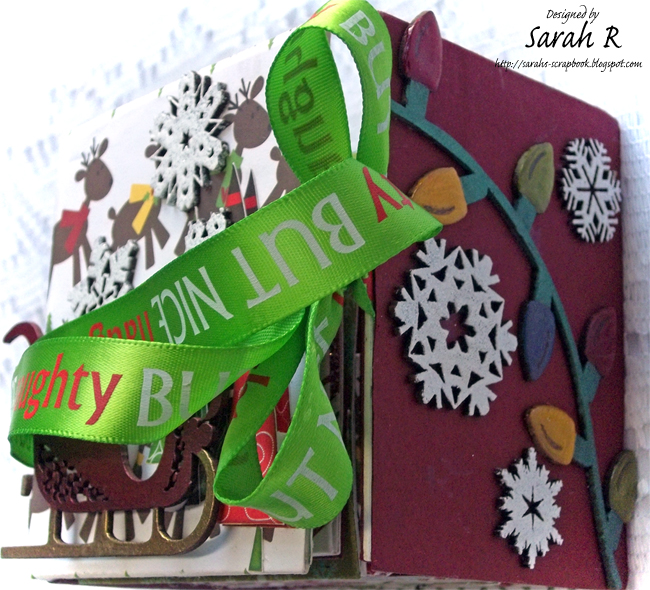
I created a four-sided cover for the album and have decorated three of the four sides with Creative Embellishments chipboard elements. For the outer spine of the album, I've used The Elf on the Shelf title chipboard, which I embossed with Antique Gold embossing powder. I stacked the title so that it was triangular from top to bottom, to reflect the shape of a Christmas tree. I added some sequins as Christmas balls and a CE Chipboard Snowflake (embossed with Winter Wonderland embossing powder) as the 'star' of the tree.
I created a mini-scene on the front cover by fussy cutting some paper trees twice and layering them and added some CE Chipboard Snowflakes and the Santa Flourish Sleigh. I embossed the runners and the railing of the sleigh with Antique Gold embossing powder and painted the sleigh using Silks Acrylic Glaze in Carmen.
On the folding spine, I've used some more Chipboard Snowflakes and a section of the Christmas Light Strand 4 chipboard. I painted the Christmas Lights with Silks Acrylic Glazes and then added Glossy Accents to the bulbs to give them a nice, dimensional shine.
Finally, for the pages inside the album, I have used lots of Chipboard Snowflakes on the pockets to decorate the pages. I also used a tiny chipboard button (painted with Silks Acrylic Glaze and then treated with Glossy Accents) on the inside of the spine to hold the tassels and ornaments I used to add a little more interest to the spine.
Now I just have to add the photos and journalling and my son's Elf on the Shelf Album will be complete!
I hope you enjoyed my fun little Elf album! Happy Crafting!
I hope you enjoyed my fun little Elf album! Happy Crafting!


No comments:
Post a Comment