Showing posts with label Copic Markers. Show all posts

Friday, March 31, 2017

Crazy Shaker Cards ~ Creative Embellishments

Today, I'm sharing some fun shaker cards with you! I've used Tim Holtz Crazy Dogs and Crazy Cats stamps (coloured with Copic Markers) along with Graphic 45 papers to create these cards. For the shaker part, I've used sequins and some Creative Embellishments Wood Veneers- which I left plain because I LOVE how the natural wood and laser engraving looks!
For the Crazy Dog Shaker Card, I used papers from Graphic 45's Good Ol' Sport collection and inked all the papers with Distress Ink in Vintage Photo. I used the Dog Gone Cute Wood Veneers in the shaker on this card. I also used two pieces from these Wood Veneers to embellish the front of the cards. I coloured the Ball using a Red Copic Marker and I added some patterned paper to the Dog Tag, outlined the tag with a Black Copic Marker and then inked it with Distress Ink in Vintage Photo. I thought this masculine card would be perfect for Father's Day!

For the Crazy Cat Shaker Card, I used papers from Graphic 45's Once Upon a Springtime collection and inked all the papers with Distress Ink in Antique Linen. I used the Purrfect Pieces Wood Veneers in the Shaker on this card. I thought this would be a fun card for Easter - featuring a confused Kitty who thinks he's a rabbit!
Thanks so much for popping by my blog today! Have Crazy Fun Crafting!

Friday, May 10, 2013

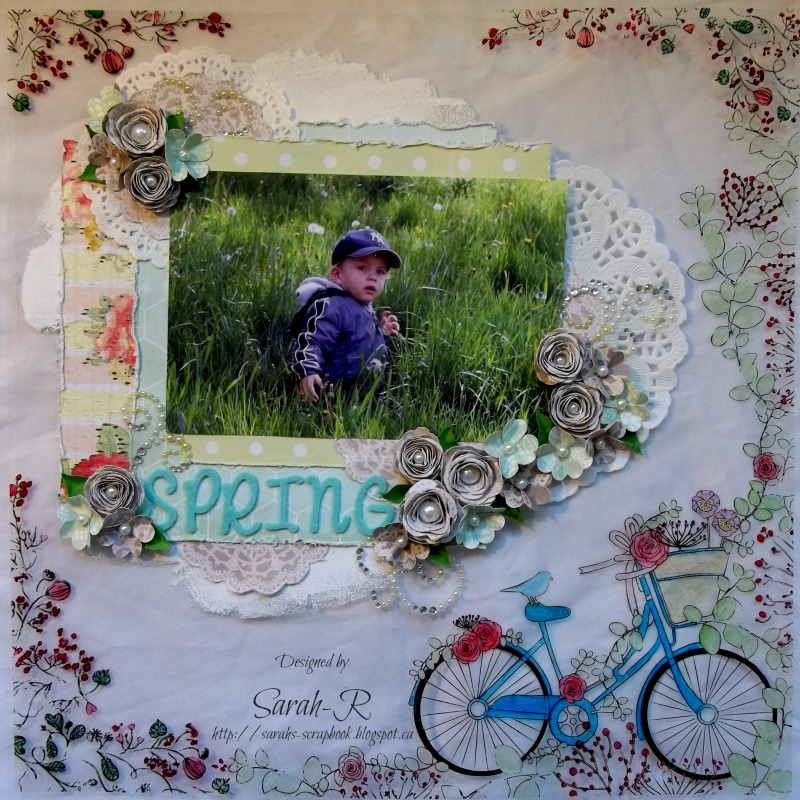
Spring - Details and Close-ups ~ ScrapThat! May Kit ~

Today, I'm sharing the details and close-ups of one of the layouts I created with the gorgeous ScrapThat! Spring into May Anniversary Kit. Today's layout is simply called "Spring" and features a picture of my son from last Spring (since this year, it seems, Spring decided to take its sweet time getting here and I couldn't get a decent Spring picture to use). I loved the KaiserCraft transparency included in this kit and used it as the base page for this layout. I coloured the transparency with Copic Markers - so cool how this turned out. Pictures of the layout are taken on a white background but it looks so much cooler in real life!
Here is a close-up of the coloured bicycle on the transparency. The Copic Markers worked really well to colour it - though you do see a few 'colouring lines'.
For the photo/layering area, I started out with a rough coat of gesso and then layered three different patterened papers, some fussy-cut doilies and two round doilies. I used the Alphas included in the Main Kit for the title. All the flowers on this layout are handmade and the Prima bling elements were also included in the Main Kit!
Here are some close-ups of the handmade flowers - I'll be posting a tutorial for the fussy-cut doily rolled roses later in the month!
Thanks so much for stopping by my blog! Happy Scrapping!